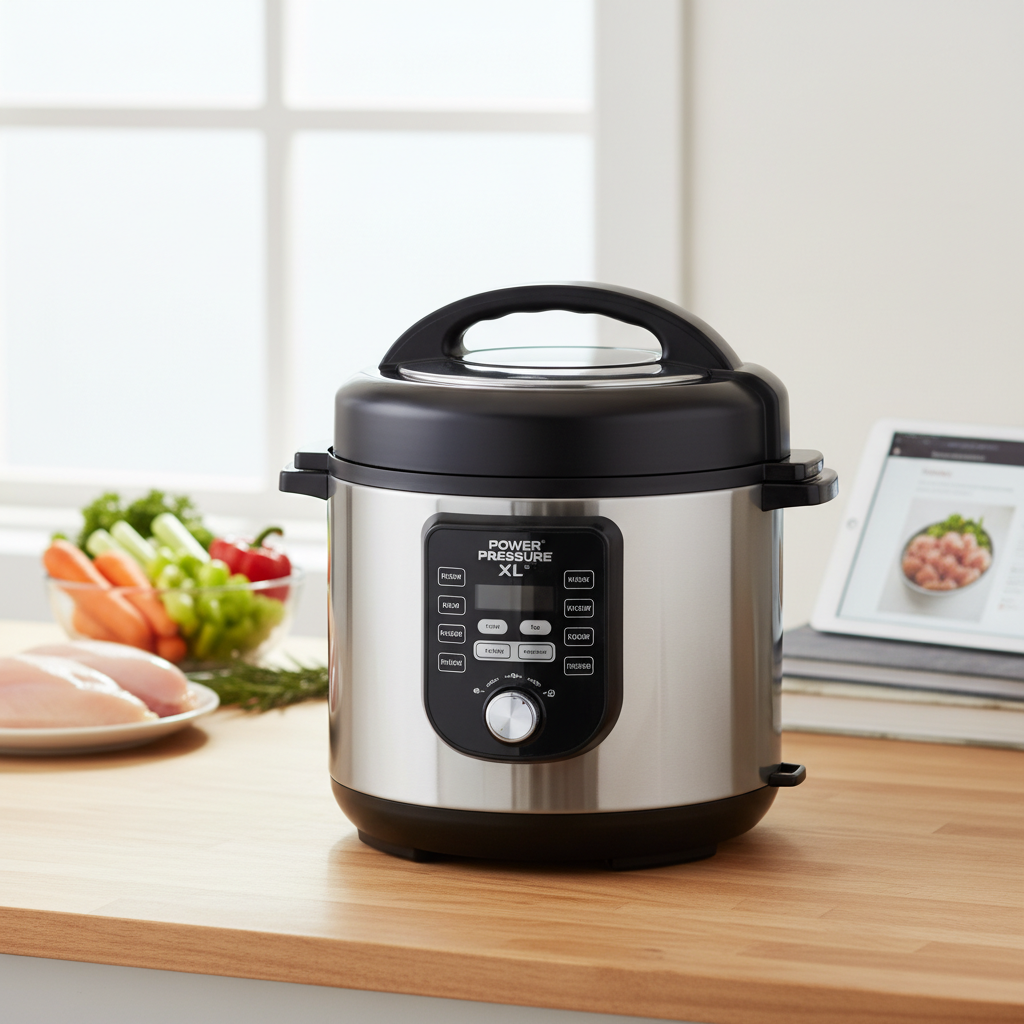
Electric pressure cookers have revolutionized kitchen routines, making weeknight meals quicker and more convenient than ever before. Yet, the unsung hero of this culinary workhorse is often overlooked: the humble sealing ring. This vital component ensures your appliance operates safely and efficiently, locking in pressure to cook food rapidly and thoroughly. But like any frequently used part, the sealing ring wears out over time, compromising performance and even safety. Understanding how and when to replace it is crucial for every home chef.
This comprehensive DIY guide will walk you through everything you need to know about your electric pressure cooker’s sealing ring. From identifying the tell-tale signs of wear to a step-by-step replacement process and essential maintenance tips, we’ll empower you to keep your pressure cooker in prime condition, ensuring delicious and safe meals for years to come.
Why Your Electric Pressure Cooker Sealing Ring Matters
The sealing ring, also known as a gasket, is the critical barrier that creates an airtight seal between your pressure cooker’s lid and its pot. This seal is fundamental to the very principle of pressure cooking: it traps steam, allowing pressure to build inside the pot, which in turn raises the boiling point of water and speeds up cooking times dramatically. Without a fully functional sealing ring, your pressure cooker cannot achieve or maintain the necessary pressure.
A compromised sealing ring can lead to several issues. Most importantly, it poses a safety risk, as steam can escape, potentially causing burns. Beyond safety, an inefficient seal means your pressure cooker won’t reach optimal pressure, resulting in longer cooking times, unevenly cooked food, and a loss of energy efficiency. The integrity of this seemingly simple silicone or rubber component is paramount to both the performance and safety of your appliance.
Signs It’s Time for a Replacement
Recognizing when your pressure cooker’s sealing ring needs attention is the first step in proactive maintenance. Several indicators suggest it’s time for a replacement to ensure continued safe and efficient operation.
Visible Damage and Wear
|
Our Picks for the Best Electric pressure cooker in 2026
As an Amazon Associate I earn from qualifying purchases.
|
||
| Num | Product | Action |
|---|---|---|
| 1 | Instant Pot Duo 7-in-1 Mini Electric Pressure Cooker, Slow Rice Cooker, Steamer, Sauté, Yogurt Maker, Warmer & Sterilizer, Includes Free App with over 1900 Recipes, Stainless Steel, 3 Quart |

|
| 2 | DUMOS 16-in-1 Electric Pressure Cooker, 6QT Programmable Multi Cooker with 12 One-Touch Presets, Soup Steam Yogurt and More, Ceramic Inner Pot Delay Start & Keep Warm, Includes Recipe Guide, Black |
|
| 3 | Midea 12-in-1 Electric Pressure Cooker, 8 Quarts, 12 Presets, Multi-Functional Programmable Slow Cooker, Rice Cooker, Steamer, Sauté Pan, Yogurt Maker, and More, Stainless Steel |
|
| 4 | NEWBULIG 16-in-1 Electric Pressure Cooker, 6QT Multi Cooker with 12 Presets, Slow Cook Rice Steamer Sauté Soup Meat Stew Canning Yogurt Maker, Ceramic Inner Pot & Recipe Book Included, Silver |
|
| 5 | Instant Pot Duo 7-in-1 Electric Pressure Cooker, Slow Cooker, Rice, Steamer, Sauté, Yogurt Maker, Warmer & Sterilizer, Includes App With Over 800 Recipes, Stainless Steel, 6 Quart |
|
| 6 | Sweetcrispy 16-in-1 Electric Pressure Cooker 6QT, 12-Preset Multi Cookers with Ceramic Pot, Slow Cook Rice Steamer Sauté Soup Yogurt Maker and More, Recipe Book |
|
| 7 | Ninja HyperHeat 9-in-1 6.5-qt Pressure Cooker | Steams, Slow Cooks, Sears, Sautés, Sous Vide, Yogurt & More | With SimpliServe Pot | Powerful 1200-Watt | Blue Macaron | PC201 |
|
| 8 | COSORI Pressure Cooker 6QT, Stainless Steel, 9-in-1 Multi Cooker, 12 Safety Features, Ceramic Inner Pot, Rice, Slow Cook, Sous Vide, Saute, 1100W |
|
| 9 | Instant Pot Duo 7-in-1 Electric Pressure Cooker, Slow Cooker, Rice Cooker, Steamer, Sauté, Yogurt Maker, Warmer & Sterilizer, Includes App with Over 800 Recipes, Stainless Steel, 8 Quart |
|
| 10 | Sweetcrispy 16-in-1 Electric Pressure Cooker 6QT, 12-Preset Multi Cookers with Ceramic Pot, Slow Cook Rice Steamer Sauté Soup Yogurt Maker and More, Recipe Book |
|
Regular inspection of your sealing ring is crucial. Look for any visible signs of degradation such as cracks, tears, discoloration, or hardening of the material. A healthy sealing ring should be supple and flexible; if it feels brittle or stiff, its elasticity has likely diminished, meaning it can no longer form a tight seal.
Performance Issues
The most obvious sign of a failing sealing ring is a noticeable drop in your pressure cooker’s performance. If you observe steam leaking from the edge of the lid during cooking, or if the cooker struggles to come to pressure or maintain it, the seal is likely at fault. Food taking longer to cook than usual can also be an indication of inefficient pressure buildup due to a faulty gasket.
Odor Retention
Silicone sealing rings, commonly used in modern electric pressure cookers, can sometimes absorb strong food odors, particularly from aromatic ingredients like garlic, onion, or spicy dishes. While not directly a safety concern, a ring that retains a strong savory smell might transfer it to lighter, sweeter foods, affecting their flavor. Many users opt to have separate rings for sweet and savory dishes to mitigate this.
Recommended Replacement Frequency
Manufacturers generally recommend replacing your sealing ring periodically, even without obvious signs of damage. For typical home use (low frequency), a replacement every 12 to 18 months is often advised. For pressure cookers used more frequently in small restaurants, a cycle of every 6 to 9 months may be more appropriate. In commercial kitchens with very high usage, this could be as frequent as every 3 to 6 months. It’s always best to consult your specific model’s manual for precise guidelines.
If you’re unsure, a simple “water test” can confirm if your sealing ring is holding pressure. Fill the inner pot with 2-3 cups of water, seal the lid, and run a short pressure cooking cycle (e.g., 2 minutes). If steam consistently leaks from the lid’s rim throughout the cycle, a new ring is definitely in order.
Choosing the Right Replacement Sealing Ring
Selecting the correct replacement sealing ring is paramount for both safety and performance. A mismatched ring will either fail to create a seal or could be unsafe.
Manufacturer-Specific Parts
Always prioritize purchasing original equipment manufacturer (OEM) replacement parts. Many pressure cooker manufacturers, like Fissler, recommend using their original replacement sealing rings because they are precisely tailored to their specific models. Using unauthorized aftermarket brands might void your warranty and, more importantly, could compromise the safety of your appliance.
Material Matters
Most modern electric pressure cookers, especially popular brands like Instant Pot, utilize silicone rubber compounds for their sealing rings. This material is chosen for its durability, flexibility, and ability to withstand high temperatures and pressures. Avoid attempting to create a DIY sealing ring from other materials, as they may not possess the necessary heat resistance and structural integrity for safe pressure cooking. Traditional stovetop pressure cookers might use different materials like a V-shaped plastic-like material, so always confirm the material suitable for your specific cooker.
Size and Model Compatibility
Sealing ring sizes are specific to manufacturers and their various models and capacities. An Instant Pot, for example, will have different sealing rings for its 3-quart, 6-quart, and 8-quart models. The most reliable way to determine the correct size is to consult your pressure cooker’s user manual. If the manual is unavailable, identify your cooker’s brand, model name, and quart size; this information will be sufficient to find the appropriate replacement.
Considering Multiple Rings
As mentioned, some keen cooks prefer to have multiple sealing rings, dedicating one for savory dishes and another for sweet preparations. This clever strategy helps prevent odor and flavor transfer, ensuring your yogurt doesn’t taste like last night’s chili. These rings are often color-coded (e.g., clear for savory, red or blue for sweet) for easy identification.
Step-by-Step DIY Guide: Replacing Your Pressure Cooker Sealing Ring
Replacing your pressure cooker’s sealing ring is a straightforward task that can be completed in minutes with no special tools.
1. Safety First
Before you begin, ensure your pressure cooker is completely unplugged and has cooled down entirely. Never attempt to replace the sealing ring on a hot or pressurized appliance.
2. Remove the Lid
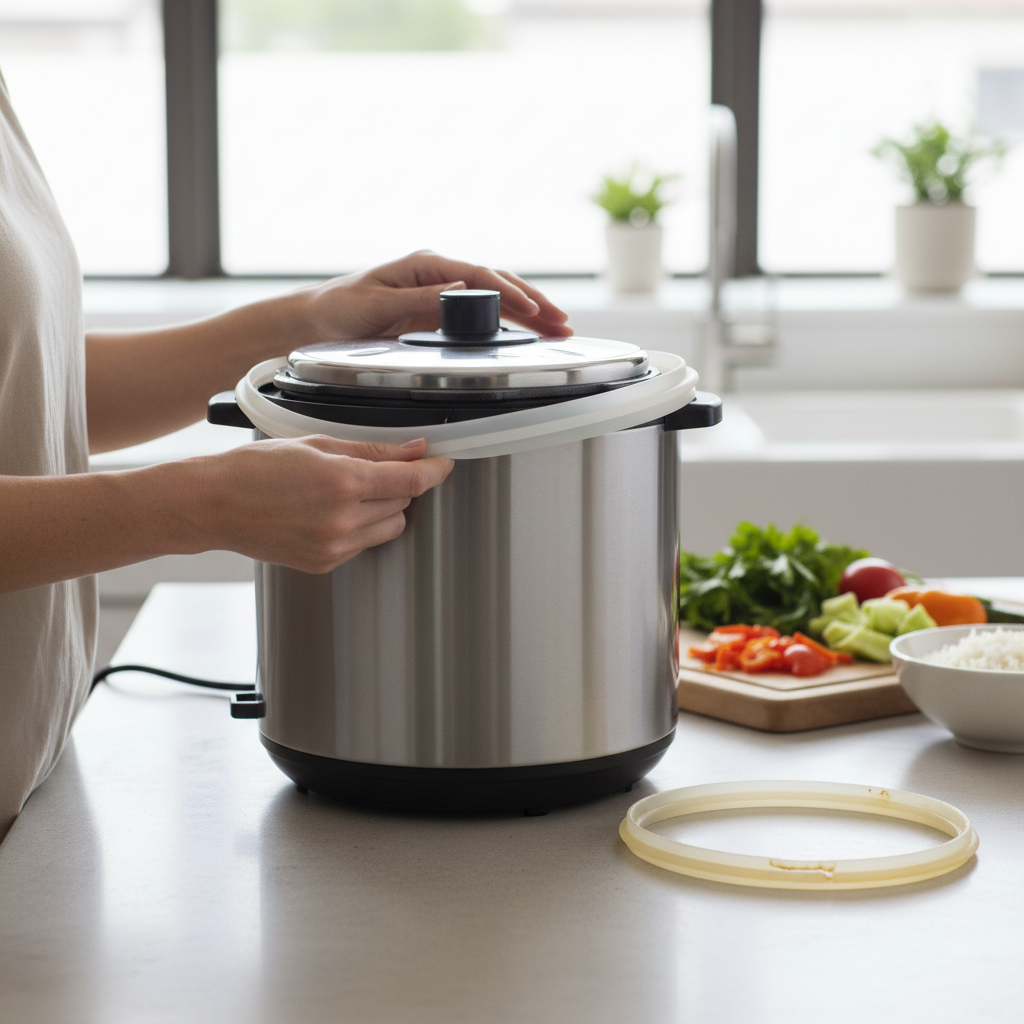
Detach the lid from your pressure cooker. Place the lid on a clean, flat surface, with the sealing ring facing upwards for easier access.
3. Carefully Remove the Old Ring
The old sealing ring typically sits in a groove around the inner circumference of the lid. Gently grab a section of the ring and pry it out of the groove. It should come out relatively easily. Some models may have small locking tabs; simply slide the ring out from under these.
4. Clean the Lid and Groove
With the old ring removed, take this opportunity to thoroughly clean the lid, especially the groove where the sealing ring sits. Use warm, soapy water to remove any food particles, grease, or calcium deposits that may have accumulated. Rinse well and dry completely. A clean groove ensures your new ring seats properly.
5. Install the New Sealing Ring
Take your new, clean sealing ring. Place it into the groove on the underside of the lid. Gently press it down, working your way around the entire circumference. Ensure the ring is fully seated within the groove and lies flat without any twists, kinks, or bulges. For models with locking tabs, slide the new ring carefully underneath them. The rings are often identical on both sides, so the orientation usually doesn’t matter.
“The sealing ring fits into a groove. You simply place it in the track, ensuring it’s snugly aligned. It’s a simple process, but precision is key for a proper seal.” – ReviewKro Admin, Electric Pressure Cooker Expert
6. Inspect and Test
Once installed, give the new sealing ring a visual inspection. Run your fingers around it to confirm it is seated correctly and evenly all the way around the lid. There should be no gaps or areas where the ring appears to be bulging out. After installation, perform the “water test” described earlier to verify that the new ring forms a perfect seal before cooking any food.
Maintenance Tips for Longevity
Proper care can extend the life of your pressure cooker’s sealing ring and maintain peak performance.
- Regular Cleaning: Remove and wash your sealing ring after every use. Hand washing with warm soapy water is recommended, though many silicone rings are also dishwasher safe. Regular cleaning prevents food particles and odors from building up.
- Proper Storage: When not in use, avoid storing your lid upside down on the pot with the ring compressed, as this can cause it to deform over time. Store the lid right-side up or separately to allow the ring to retain its natural shape.
- Rotate Rings: If you have multiple rings, rotating them regularly can help distribute wear and extend the lifespan of each.
- Avoid Abrasive Cleaners: Use mild dish soap and soft sponges. Harsh chemicals or abrasive scrubbers can damage the silicone or rubber material.
Conclusion
The sealing ring, though a small component, is indispensable to the safe and efficient operation of your electric pressure cooker. By understanding its vital role, recognizing the signs of wear, choosing the correct replacement, and following a simple DIY replacement and maintenance routine, you can ensure your appliance remains a reliable and safe tool in your kitchen. Regular inspection and timely replacement not only safeguard your cooking experience but also prolong the life of your beloved pressure cooker, letting you continue to enjoy the convenience and delicious results it provides.
Don’t let a failing seal deflate your culinary ambitions. Take a moment to inspect your sealing ring today—your pressure cooker (and your next meal) will thank you!
Frequently Asked Questions
Can I use any sealing ring for my pressure cooker?
No, it is crucial to use a sealing ring specifically designed for your pressure cooker’s brand, model, and capacity (e.g., 6-quart Instant Pot). Mismatched rings will not create a proper seal and can be unsafe. Always consult your appliance’s manual or the manufacturer’s website for compatible replacement parts.
What if my new sealing ring seems loose or too tight?
If a new ring feels loose, ensure it is correctly seated in the groove without any twists. Some rings may expand slightly during initial use and then settle. If it still doesn’t fit snugly or seems too tight to properly close the lid, it might be the wrong size or a defective product. Contact the seller or manufacturer for a replacement.
How often should I clean my pressure cooker sealing ring?
It is highly recommended to remove and clean your pressure cooker sealing ring after every single use. This practice prevents food residue buildup, eliminates odors, and allows you to inspect the ring for any signs of wear or damage, ensuring it is properly set for the next cooking session.